Learn from the Best
The Best in Blogging series gives you proven strategies from top industry experts.
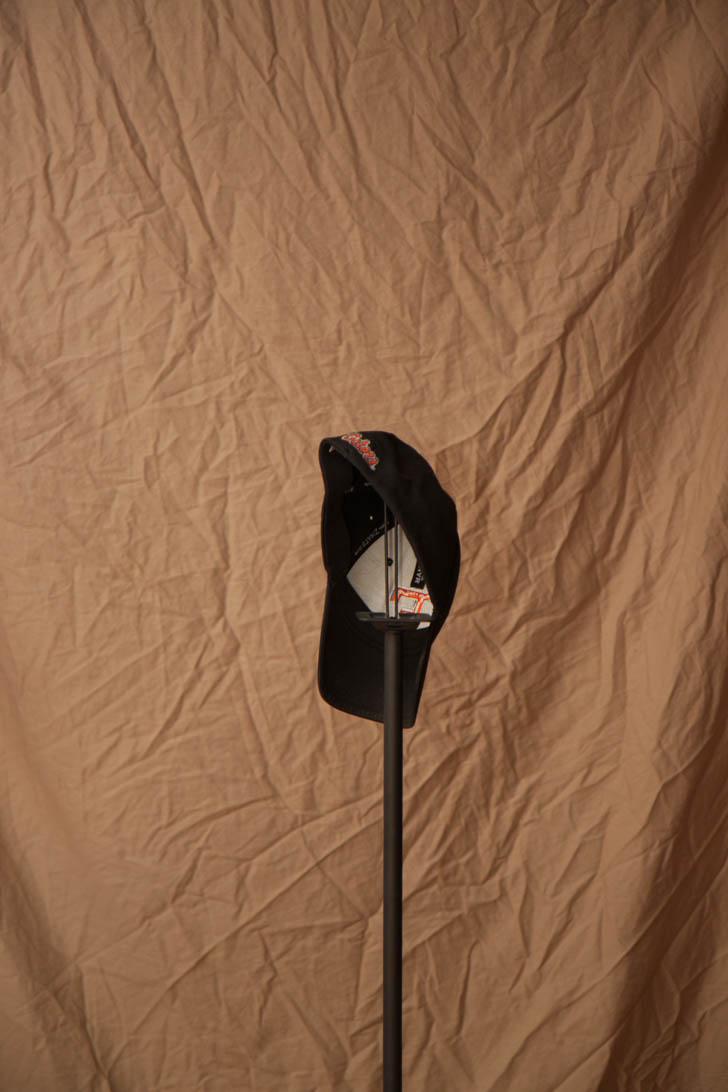
For my head shot, I did my own photo set up using a wrinkly sheet, a bunch of tape (or some kind of anchoring system), a floor lamp, a tripod, and my camera, which is a Canon T3i with a 24-105 lens.
The wrinkly sheet doesn’t matter (sorta), because you’re going to stand far enough away from your sheet that it will blur together. If you don’t have a lot of room to work with, I’d recommend ironing it out a little, since more of the details will come through.
I anchored my sheet with a curtain rod Kristofer and I set up against a wall (specifically for photos) but you could just tape it up, or throw it over a bookcase and place some heavy books on the corners… whatever.
Here’s how it looked:
In this next photo, we ironed our sheet out a little, set up a floor lamp with no lamp shade, and tried to test it out a little. I didn’t plan on sharing the set up, so excuse the fact that my hand is being used to test all these…
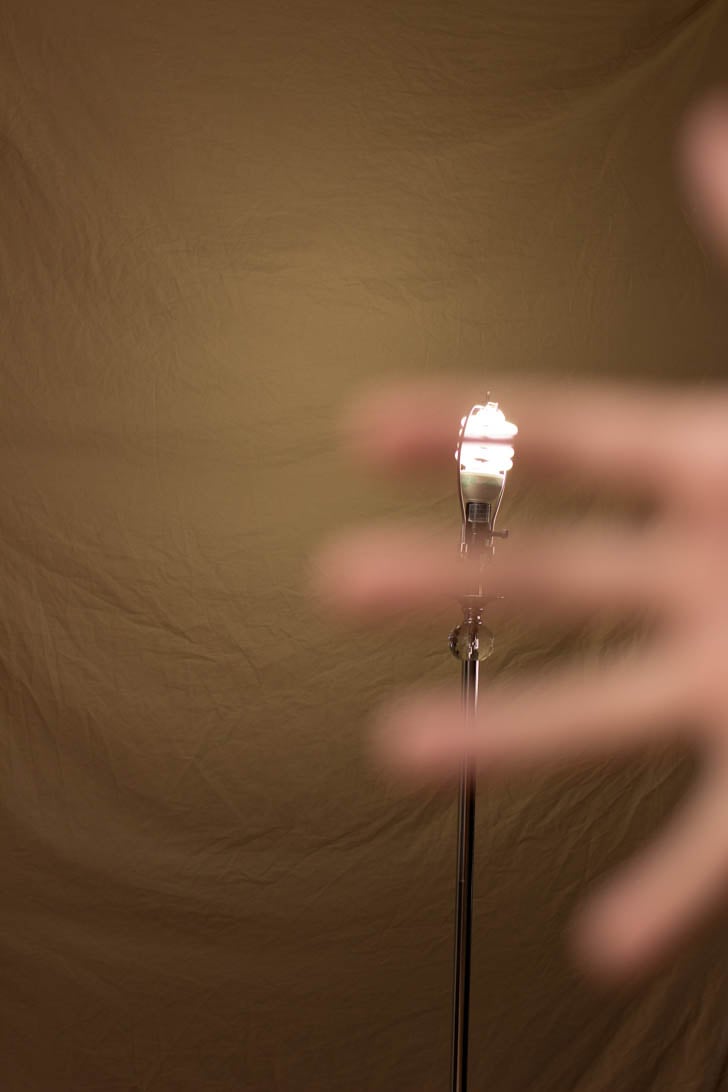
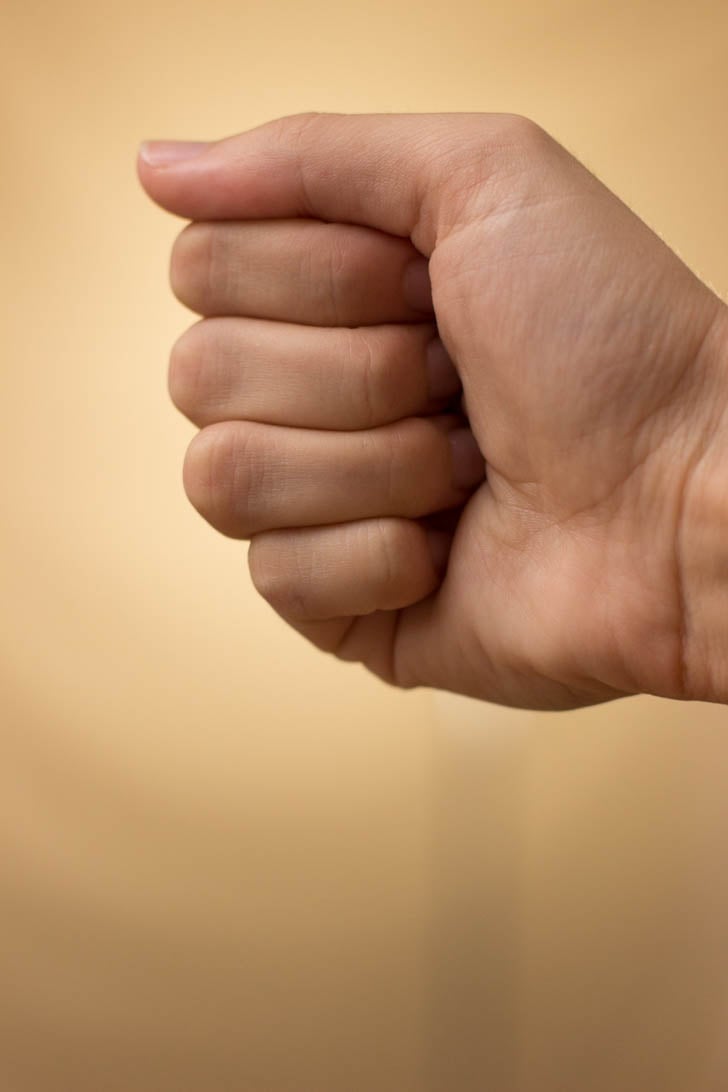
Above, the background was in focus, so the sheet’s wrinkles are visible. Below, however, we’re focusing on something very close, with f/2.8, so our background is a lot softer.
The floor lamp in the back is being used to create a fill light and a bit of a halo effect around my hair. If you look at the bottom of my hair, you can see a little bit of that.
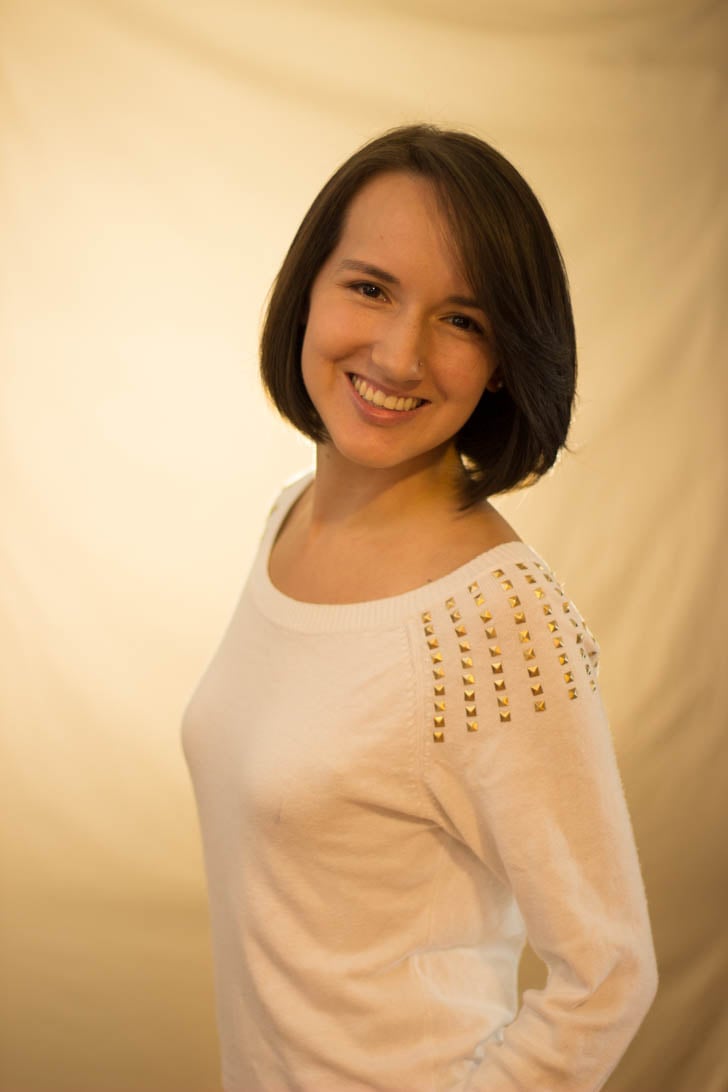
After getting the photo, it’s about post-processing. I was shooting at night, so there wasn’t a lot of (read: any) natural light. Add in a flash and everything’s very orange. I shoot in RAW on my camera, instead of JPEG, so color and brightness adjustments are easy to make.
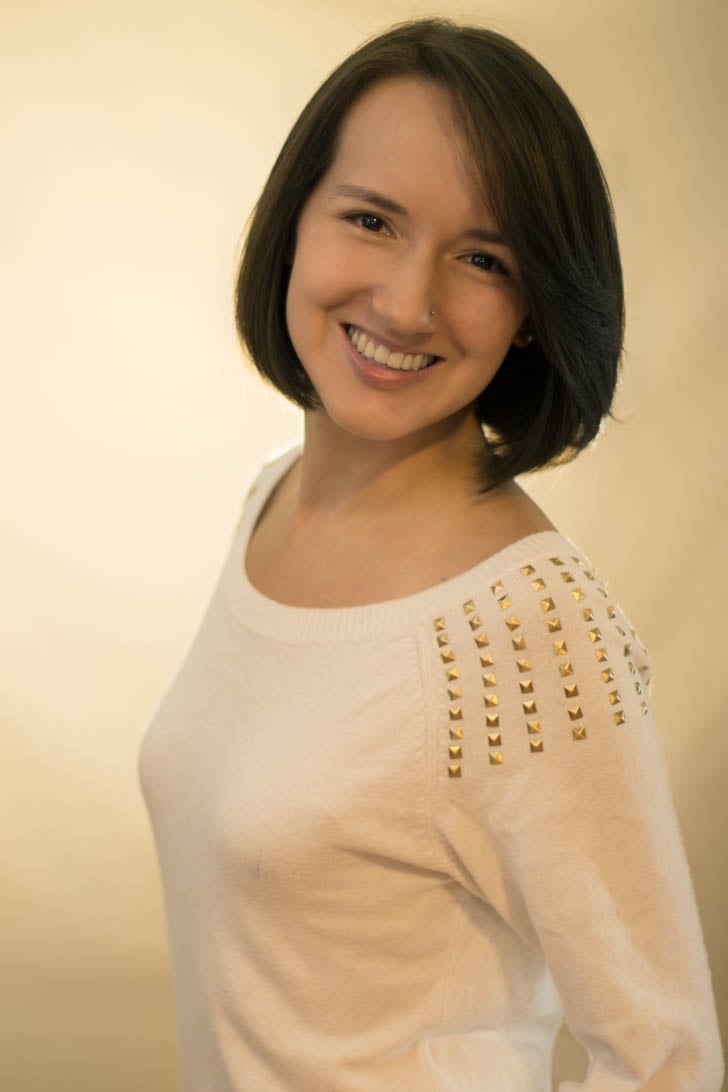
The first edited photo has color correction, softening of my face, brightening of my eyes, and I went ahead and softened the background some more since the right side really had some shadows in the wrinkles which made them stand out.
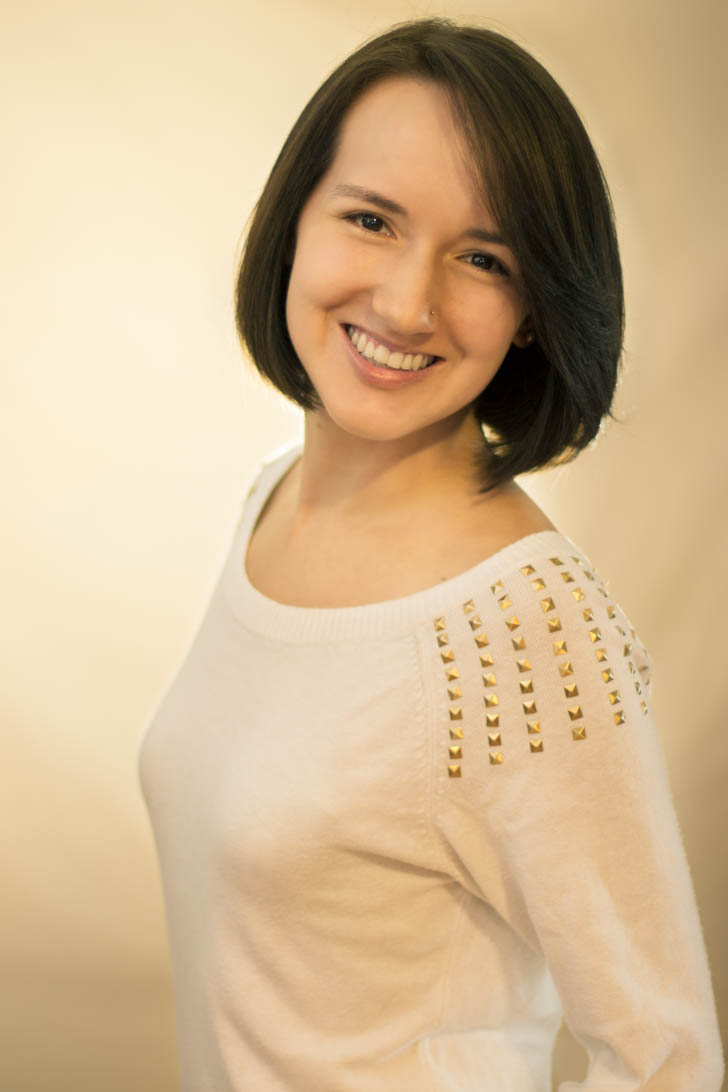
In my final photo, I brighten everything a little more, lightly soften the wrinkles in my sleeves, because I’m starting to feel very picky, and realize that I didn’t have a bright enough front light. So I’m using a masking layer and a soft Photoshop brush to brighten all of me while leaving the background a bit darker. In the future, I probably wouldn’t use such a tan-colored background.
Of course, you could do all of this without editing at all — if you have the right conditions. Soft, natural light from the front would make most of the changes I did unnecessary. Keep a bright light behind you to separate you from the backdrop.



Leave a Reply